 Ferndale
 Building New in Marietta? Get the Windows Right the First Time
When you're framing a new home in the Marietta area, the windows are one of the few components that have to perform two jobs at once: they define how the house looks, and they're the single biggest set of penetrations in your building envelope. Get the installation wrong at the framing stage and you won't see the consequences for a year or two — by then it's hidden behind siding, trim, and drywall, and the fix is far more expensive than doing it right the first time. New-construction window installation is fundamentally different from a retrofit or replacement job, and in a community like Marietta, sitting close to the water with the weather exposure that comes with it, the margin for error is smaller than it is further inland.
This page covers what new-construction window installation actually involves, what Marietta's climate specifically asks of that work, and how we approach it when we're on a job in this part of Whatcom County.
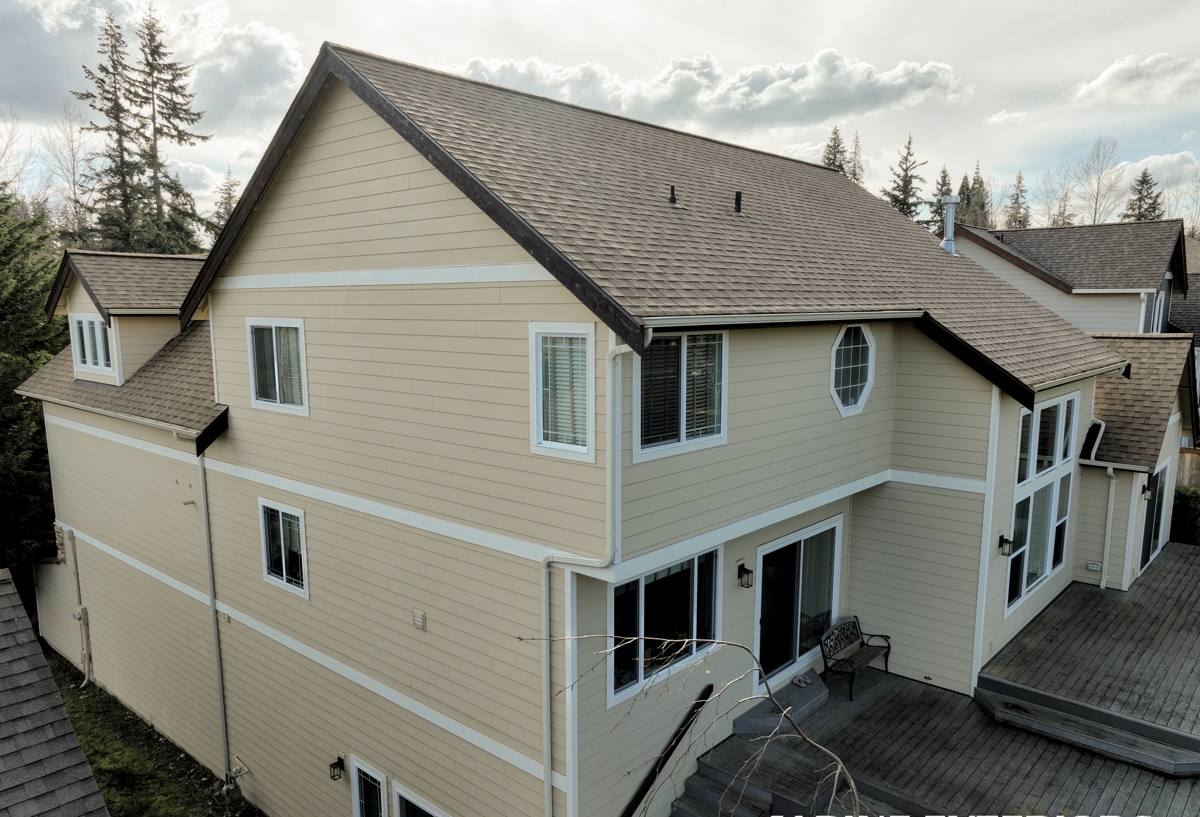
What Marietta's Climate Asks of a New Window Install
Marietta sits in the stretch of Whatcom County that gets the full combination of coastal exposure and Pacific Northwest rain — salt-laden air off the water, driving rain that comes in sideways during winter storms, and a long stretch of the year where shaded and north-facing surfaces stay damp long enough to grow moss and algae. None of that is unusual for this part of the county, but it does change what "correct" looks like for a window install.
- Salt air accelerates corrosion on exposed fasteners, cheap hardware, and unprotected metal flashing. It also means finish coatings and frame materials that hold up fine 20 miles inland can start to chalk, pit, or discolor faster near the water.
- Driving rain — wind-driven, not just falling straight down — pushes water sideways against the wall plane and up under trim and flashing laps that would be fine in a calmer climate. This is the condition that exposes a lazy flashing job.
- Moss and algae growth thrive on the damp, shaded sides of a new home, especially before landscaping matures and airflow around the building improves. Sills and horizontal trim that don't shed water cleanly become the first place organic growth takes hold.
None of these conditions call for exotic materials or unusual techniques. They call for disciplined, correct execution of the basics — flashing sequence, sealant selection, drainage paths — done consistently on every window, not just the ones that are easy to reach.
New-Construction Installs Are Not the Same Job as a Replacement
It's worth being clear about this distinction, because the terminology gets used loosely. A replacement window goes into an existing rough opening with the siding and trim already in place — the installer is working around what's already there. A new-construction window goes in during the framing stage, before siding or exterior finish is applied, with a nailing fin (or flange) that gets integrated directly into the weather-resistive barrier (WRB) and flashing system.
That difference matters because a new-construction install gives you full access to build a correct drainage plane from the ground up — sill pan, flashing tape, WRB laps, and sealant all layered in the right order so water that reaches the window opening is shed back out, not trapped behind the siding. Done well, this is the single best opportunity you'll ever have to get a window opening right, because every layer is accessible and nothing has to be worked around. Done poorly, it's the hardest mistake to catch later, because everything gets covered up within days.
What a Correct New-Construction Window Install Involves
Sill Pan and Sloped Drainage
Before the window ever goes in, the rough opening's sill should be protected with a sloped sill pan — either a manufactured pan flashing or a correctly built-up and taped sill — so any water that gets past the window sheds forward and out, not down into the wall cavity. This is the step most commonly skipped or done poorly, and it's the one that causes the most damage over time.
Flashing and WRB Integration
Flashing tape and the weather-resistive barrier need to be layered in the correct shingle-style sequence — sill first, then jambs, then head — so each layer overlaps the one below it, the same way roof shingles work. Get the order backward at any single window and you've built a path for water to travel behind the WRB instead of over it.
Nailing Fin Fastening
The window's nailing fin needs to be fastened per the manufacturer's schedule — correct fastener type, spacing, and placement — with the frame checked for level, plumb, and square before it's locked in. A window that's slightly out of square will bind, won't seal evenly, and puts uneven stress on the frame and glass over time.
Sealant Selection and Placement
Not every gap gets sealed, and not every sealant is the same. The head flashing typically needs a weep path left open so any water that does get behind the siding can drain back out — sealing that gap solid traps water instead of releasing it. Getting this backward is a common, well-intentioned mistake.
Frame Material and Glass — What Holds Up Near the Water
Marietta's proximity to the water doesn't rule out any particular window brand or material, but it does change the trade-offs worth weighing. Here's how the common options generally compare for a coastal Whatcom County build:
| Frame Material | Coastal / Salt-Air Behavior | Maintenance | Typical Trade-Off |
|---|---|---|---|
| Vinyl | Doesn't corrode; performs consistently near the water | Low — occasional cleaning | Limited color and profile options; can't be repainted |
| Fiberglass | Very stable in temperature and humidity swings; strong moisture resistance | Low | Higher upfront cost than vinyl |
| Wood / Wood-Clad | Attractive but exposed wood needs protection from driving rain and damp shade | Higher — finish maintenance, moss/mildew watch on exposed wood | Best appearance option; requires the most upkeep in this climate |
| Aluminum | Prone to corrosion and condensation near salt air unless thermally broken and properly finished | Moderate | Best reserved for specific architectural applications, not general use |
For most new builds in Marietta, we steer homeowners toward vinyl or fiberglass frames with a quality low-E, dual-pane (or better) glass package — the combination that gives the best balance of moisture resistance, energy performance, and low long-term maintenance for this specific climate. Wood-clad windows can still be the right call where the look matters more than upkeep, as long as the homeowner goes in with clear eyes about the maintenance commitment on the exposed sides of the house.
Our Process on a Marietta New-Construction Job
- Rough opening check. We verify every opening is square, correctly sized, and structurally sound before a window ever shows up on site — catching framing issues now is far cheaper than after.
- Sill pan and flashing layout. Sill pans go in first, sloped to drain, followed by jamb and head flashing in the correct shingle-lap order.
- Window set and fastening. Each window is set, shimmed level and plumb, and fastened to the manufacturer's schedule — not just "close enough."
- WRB integration. The building wrap is lapped over the flashing correctly at every window, maintaining a continuous drainage plane across the whole wall.
- Sealant and weep path check. Sealant goes where it belongs; weep paths at the head flashing are left open so water can escape rather than pool.
- Final walk and photo documentation. Every opening gets checked and documented before siding closes it up — because after that, nobody can see the work again without tearing into the wall.
Why a Crew That Already Works Marietta Matters
New-construction window installation isn't a job you can fully learn from a manual — a lot of it comes down to judgment calls: how tight to run flashing laps in a wind-driven rain zone, which sealant actually holds up to salt air over years instead of months, how much drainage capacity to build in around a shaded, moss-prone elevation. A crew that's already worked homes in Marietta and the surrounding Ferndale area has already made those calls on this specific coastline, under this specific weather, and has seen what holds up after a few winters and what doesn't.
That local track record also matters for permitting and inspection — Whatcom County building departments know what they're looking for on new construction, and a crew that's been through the process locally isn't guessing at what will pass.
Before You Hire — A Practical Checklist
Whether you're a homeowner working with a builder or managing the build yourself, these are worth confirming before windows go in:
- Ask specifically how sill pans will be flashed — not just "we flash the windows," but the actual sequence and materials.
- Confirm the fastening schedule matches the window manufacturer's installation instructions, not a generic approach.
- Ask whether weep paths at the head flashing will be left open, and why.
- Get the frame material and glass package in writing, matched to your elevation's sun and rain exposure.
- Ask for photos of the flashing and sill pan work before siding closes the wall — this is your only chance to see it.
- Confirm who's responsible for the manufacturer's warranty registration and what it actually covers.
If you're planning a new build or already framing in the Marietta area and want windows installed correctly the first time, we're glad to walk the site, look at your plans, and give you a straightforward, no-pressure estimate — just fill out the form below.