 Ferndale
 Why Lummi Island Siding Wears Differently Than Inland Homes
Lummi Island sits out in the marine air of Whatcom County, and that changes how siding ages. Homes just a few miles inland in Ferndale or Bellingham deal with rain and cool, damp winters like the rest of western Washington. Homes on the island deal with all of that plus near-constant exposure to salt-laden air coming off the water, wind-driven rain that hits siding at an angle instead of falling straight down, and a moss and algae season that can run most of the year on shaded or north-facing walls. None of that is exotic — it's just more of what already stresses siding here, applied more consistently, day after day.
That combination is exactly why siding repair on the island tends to show up sooner and in different spots than it does on a comparable house set back from the water. We're not describing anything mysterious — just the ordinary mechanics of moisture, salt, and organic growth working on a building envelope that gets less of a break between wet cycles.
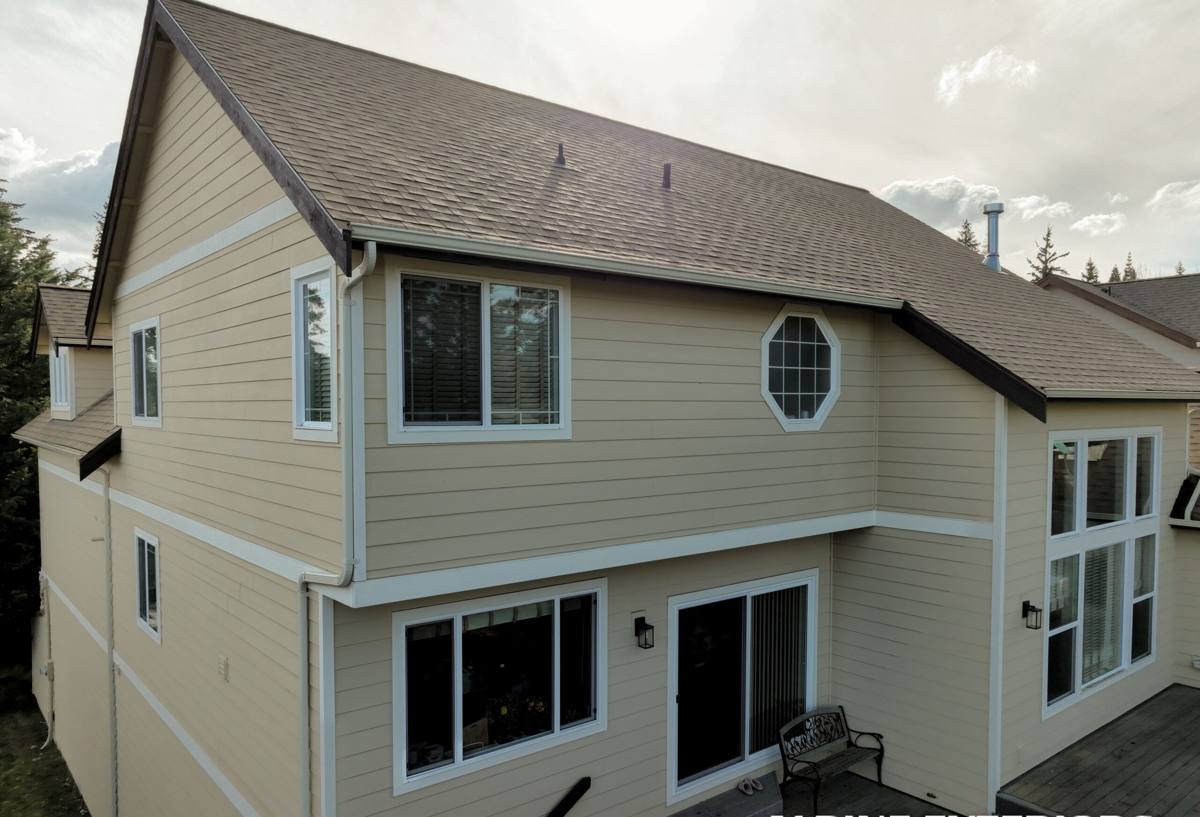
What Actually Damages Siding Out Here
Salt Air and Fasteners
Airborne salt doesn't just sit on the surface of siding — it works into fastener heads, trim joints, and any spot where the factory finish has been broken by a nail, a scratch, or a cut edge. Over years, that accelerates corrosion in fasteners and metal flashing far faster than it would happen inland. Once a fastener starts to corrode, it can back out slightly, crack the surrounding material, or leave a rust streak that's often the first visible sign something needs attention.
Driving Rain
Straight-down rain is easy for siding to shed. Wind-driven rain coming off open water isn't — it gets pushed sideways and upward into laps, seams, and butt joints that were never meant to see water from that angle. If those joints weren't caulked, flashed, or lapped correctly at installation, this is where water finds its way behind the siding first.
Moss and Algae
Shaded walls, north exposures, and anything near overhanging trees can stay damp for extended stretches, especially through the long wet season. Moss and algae don't just look bad — they hold moisture against the siding surface, and on organic or wood-based products that moisture can eventually work into the substrate. Even on materials that resist rot, a heavy moss mat traps water at the exact seams and edges where a repair is most likely to be needed.
Signs Your Siding Needs a Real Repair
Some of these are obvious from the ground. Others take a closer look, which is part of why a proper repair visit starts with inspection, not a quote over the phone.
- Soft or spongy spots when you press on a wall, especially near the bottom courses or below windows
- Dark streaking, rust trails, or discoloration running down from fasteners or trim
- Cracked, bubbled, or peeling paint or finish in a localized area rather than across the whole wall
- Gaps opening up at butt joints, corners, or where siding meets trim, window, or door casing
- Persistent moss or algae growth that keeps coming back within a season of cleaning
- Visible warping, buckling, or a section that looks slightly different in plane from the wall around it
- Musty smell or any sign of moisture inside on an exterior wall
Any one of these can be isolated and minor. Several together, or any sign of softness, usually means water has already gotten behind the cladding and the repair needs to address what's underneath, not just what's visible.
What a Correct Repair Actually Involves
A siding repair that's done right is not just cutting out a bad board and nailing in a new one. On a house exposed to salt air and driving rain, skipping steps here is how the same spot fails again in a couple of years.
- Diagnose the source, not just the symptom. A stained or cracked board is often a downstream sign of a flashing gap, a caulk failure, or a drainage plane problem higher up or to the side. Cutting out only the visibly damaged piece without finding the entry point means the repair fails again.
- Check what's behind the siding. Once a section is opened up, we look at the house wrap or building paper, the sheathing, and any framing in that area for moisture damage. If water has been getting in for a while, the repair may need to go deeper than the siding itself.
- Match the material correctly. A patch that doesn't match thickness, profile, or exposure will telegraph as a visible seam and can also create a new water path. This is one of the areas where using a single, consistent product system across a job — rather than whatever's on hand — actually matters for how the repair performs, not just how it looks.
- Re-flash and re-seal properly. Any penetration, joint, or trim intersection touched during the repair gets flashed and sealed to shed water the way it's supposed to, not just caulked over as an afterthought.
- Fasten correctly for the exposure. Corrosion-resistant fasteners, set to the right depth, in the right pattern — especially important on a wall that's going to keep seeing salt air for the next twenty-plus years.
Repair or Replace? How We Make That Call
Not every problem area needs a full re-side, and we're not going to tell you it does. The honest breakdown usually comes down to how contained the damage is and what caused it.
| Situation | Usually a Repair | Usually Points to Replacement |
|---|---|---|
| Damage location | Isolated to one wall, corner, or a handful of boards | Spread across multiple elevations |
| Underlying moisture | Localized to the repair area once opened up | Found at multiple points during inspection |
| Age of existing siding | Siding is otherwise sound and within its expected service life | Original siding is old, chalking, or already showing widespread wear |
| Cause | A single failed joint, flashing detail, or impact damage | Systemic installation issues (missing flashing, wrong fastening, poor drainage plane) |
| Moss/algae pattern | Cosmetic, cleanable, limited to shaded sections | Heavy, recurring, tied to trapped moisture behind the cladding |
We'll tell you plainly which category your situation falls into and why, rather than defaulting to whichever answer is more or less work.
Our Repair Process on Lummi Island
Because we already work this area regularly, a repair call here follows the same process as anywhere else in our Whatcom County service area — we just already know what the exposure on a given side of the house is likely to be doing to the siding before we get there.
- Inspection and diagnosis — we look at the damaged area and the surrounding wall, not just the spot you called about, since salt and wind exposure rarely stay confined to one board.
- Straight explanation — what we found, what's causing it, and whether it's a repair or something bigger, in plain terms.
- Material matching — for patch and repair work on Hardie fiber cement siding, we use Hardie product to match thickness, texture, and factory finish so the repair holds up the same way the rest of the wall does, rather than aging differently.
- Correct installation — proper flashing, sealing, and fastening for a marine-exposed wall, not just a patch job meant to look fine from the street.
- Cleanup and a look at prevention — if moss or algae played a role, we'll flag what's feeding it (shade, gutter overflow, sprinkler overspray) so it doesn't just come back on the new material.
Why It Matters That We Already Work This Area
A siding repair on Lummi Island isn't logistically the same as one on a typical inland lot. Scheduling has to account for ferry access, and a crew that already routes work out to the island on a regular basis can plan around that a lot more efficiently than one making a special trip for a single small job. That efficiency matters for cost, but it matters more for diagnosis: a crew that's repaired siding on several island homes has already seen how salt air and wind-driven rain actually behave on this kind of exposure, which sides of a house take the worst of it, and which failure points show up first. That's the difference between a repair that treats the visible symptom and one that treats the actual cause.
Cost Factors in Siding Repair
Every repair is different, but the same handful of factors drive most of the cost difference between a small patch and a bigger job. We'll give you a firm number after inspection — this is just what tends to move it.
| Factor | Why It Affects Cost |
|---|---|
| Size and location of damage | A single accessible board is a different job than a section high on a gable end or behind landscaping |
| What's found underneath | If sheathing or framing needs attention, that's added scope beyond the siding itself |
| Material matching | Matching an existing ColorPlus finish or discontinued profile can take more sourcing time than a straightforward swap |
| Access | Ferry logistics, steep lots, or limited equipment access on the island can add time |
| Root cause repairs | Re-flashing or correcting a drainage issue behind the siding is additional work beyond replacing boards |
Keeping It From Coming Back
A good repair should hold up, but the island's climate doesn't stop pushing on siding once the crew leaves. A few habits go a long way toward protecting the work:
- Rinse salt residue off siding periodically, especially on sides facing open water
- Keep gutters clear so overflow isn't running down a wall repeatedly
- Trim back vegetation that's shading a wall and keeping it damp longer than it should be
- Have caulking and sealant at trim and penetrations checked every couple of years — it's cheap to redo and expensive to ignore
- Address small issues (a hairline crack, a loose piece of trim) before a wet season turns them into a bigger repair
If you're seeing signs of trouble on a Lummi Island home — or just want an honest look at a wall that's been bothering you — we're glad to come take a look. The estimate is free, there's no pressure attached to it, and you'll get a straight answer about whether you're looking at a repair or something more.